
It's been snowing and church was cancelled for today which gave me some free time to do some crafting.
I went to YOUTUBE looking for tutorials on making paper flowers and came across one where she uses brown paper grocery bags.
I will need to warn you about two things. First there are lots of pictures and some of the pictures are not the best quality but hopefully you will get the idea on how to make these.
Here are two finished flowers. They would be cute attached to a hairband or maybe glue a pin attachment to the back and wear it on a sweater. I also thought they would look cute on a heart shaped wreath for Valentine's Day. (I will need to make a bazillion more if I make a wreath, we'll see!)

1. Start off by cutting a grocery sack open and laying it flat.

2. Find three different round items to use as templates.
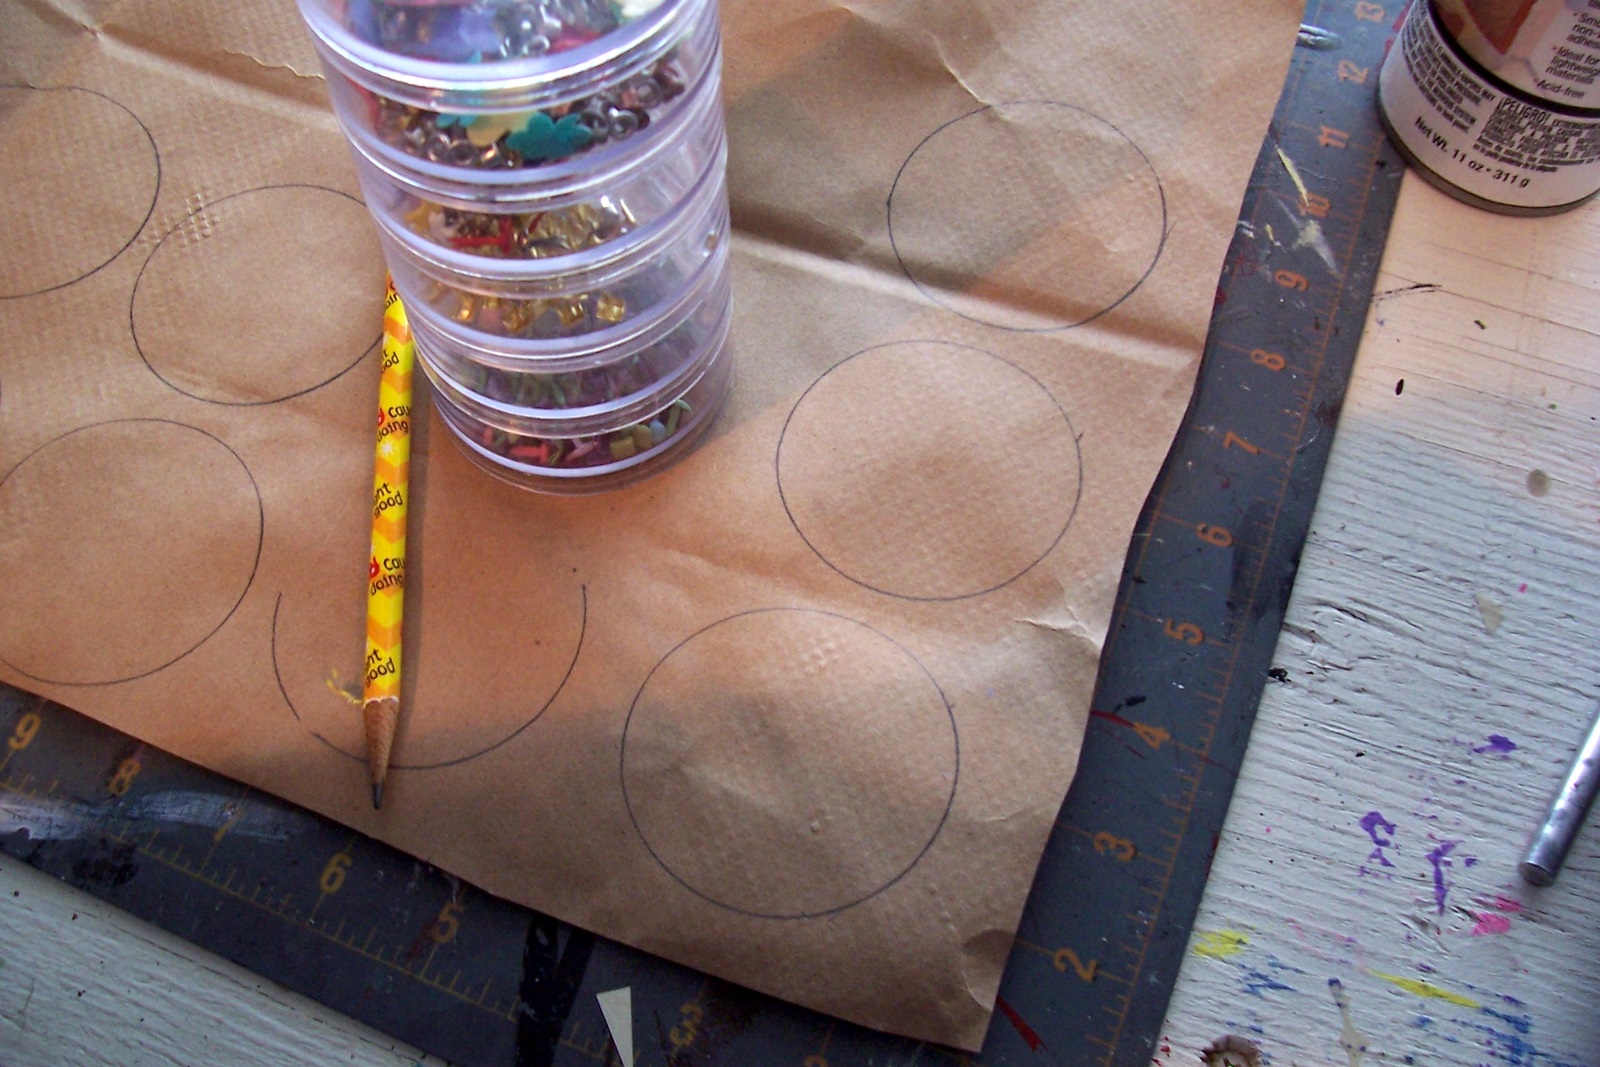
I used lids from some of my storage containers

3. The measurements I used were (below)...

4. Next I used some decorative scissors I had to cut out the circles so that the edges would be kind of ruffly.

Here is how it looks cut out.

5. I cut out a bunch but you will need 2 large circles, 2 medium circles and 1 small circle for each flower.

6. Next you want to wad up the circles and squish them to make them all wrinkly.

You want them to look like the one on the left.

7. Lay down a piece of wax paper as you will be stamping the circles with ink pads and then misting them with water.

8. I used a Chestnut brown ink pad.

9. You can see the inked circles on the left of the paint pan. I then took yellow and red craft paint and applied it randomly over the inked circles.

Here is what it looked like after applying the yellow paint.

And here is the red applied along with the yellow paintl

10. Next you will want to mist the paper circles with water and then squish and wrinkle the circles again. Let them sit for about 10-15 minutes so they start to dry out. Unwrinkle (spellcheck says that unwrinkle isn't a word but I think it works just fine for my description) them and start to shape them so they are kind of a shallow bowl shape.

11. Starting with the largest circles begin stacking them together while adding a small amount of glue in between the layers. Work the petals to make them stand up.

12. Glue in the center a rhinestone, sequin or a fancy button to finish it off.
(This photo is a little blurry, go back to the beginning of the post to see it better)


6 comments:
So adorable!!!!!!!!!
You make it look easy. Thanks for sharing
I love that you spent the day crafting! I am a little jealous of your snow (but if you tell anyone, I'll deny it). We've only had one snowstorm this whole winter!!
And the flowers turned out GREAT!! I love the idea of them on a wreath!!
Very cute Connie. Great way to up-cycle too.
Its official, y'all have definitely received more snow that us. We haven't had an inch total this year. Cant' say I'm too sad about it.. LOL. Sure as I post this. we'll get a blizzard warning. ;O)
Cute, they would be great on childrens Valentine cards!
Looks like you've been busy. Those paper flowers are cute.
We're supposed to get some winter weather this week... probably Wednesday. I'm looking forward to it as we've had very little rain so far. Take care.
They're brilliant!
Post a Comment