Thursday, January 26, 2012

THRIFTY IDEAS FROM PINTEREST

On my Pinterest homepage I have a board (category) titled Nifty and Thrifty.  Today I thought I would show you some Thrifty ideas I have pinned.
Please Note:  I have not tried all of these yet but hope to soon.

 1. This is a good idea.  Make your own dishwasher detergent and scouring powder. 


2.  So how many of us have baking sheets that look like the right side of this pan?  You know you do and so do I but this looks like a great solution to this dilemma.  Check here for the "miracle"  products that change this uck, yucky looking pan to a cleaned up finish.


3.  How about a homemade recipe for Mod Podge?  Head on over the the DIY Diva's blog for the recipe.  This is a great savings as Mod Podge can be a little on the expensive side.  I actually did make some of this and it worked great.
4.  Do you love Febreze?  I spray it quite often as we have a neighborhood roaming cat that likes to leave his scent on our front porch. (Go here and see the post about me wanting to kill it.  I actually got a pellet shot off at him but I missed him.)  Here is the link I can't wait to try this.


5.  Do you have microfiber fabric furniture?  It is great and wears well but it can get to looking a little dingy and trying to clean it with a water based cleaner can leave spots when it dries.  Here is a great tip for cleaning your furniture without leaving spots.


6.  Here is a great tip for cleaning mattresses. 

 I need to go and get started on some deep cleaning (except for the homemade Mod Podge which makes me want to go decoupage something) now that I have some inspiration from Pinterest.
Happy Cleaning
and crafting~!

Monday, January 23, 2012

A PROJECT INSPIRED BY PINTEREST

I must admit that I have never been into quilting.  I think the perfectness of  cutting the fabric is what intimidates me along with the whole matching up the seams.  However,  my friend Christine has a web sight that sells fabric packs where the fabric is already matched up and cut.  Now that is very appealing to me.  No trying to choose fabrics and colors and all the cutting is done for you.  I bought what is called a Jelly Roll which is 40 strips of fabric cut to 2 1/2" by 40".  I then came across this rag quilt on Pinterest and thought it might be something I might be able to make.

 Click HERE for a great tutorial on how to make this quilt.

Here is the particular Jelly Roll I used, it is called Origins by Basic Grey.  I also bought 2 1/2 yards of a yellow fabric and cut 40 strips for the backing of each of the Jelly Roll strips.


 I gathered together my sewing supplies and set about to make my quilt.


Here are some of the strips that I have put together with the batting in between.

And here is a shot of the first eight strips sewn together.  The seams will be clipped and frayed when the whole quilt is finished.


WHO SAYS PEOPLE ONLY PIN THINGS ON PINTEREST?
MY GOAL IS TO ACTUALLY MAKE SOME THINGS TOO.
Hopefully I will be able to show the finished project by the end of the week.

What have you made with your Pinterest inspirations?  I would love to hear about them.


Wednesday, January 18, 2012

DID SOMEONE SAY SNOW?

JUST LAST WEEK I WAS ABOUT TO DO A POST COMPLAINING ABOUT NOT HAVING ANY SNOW AND IT WAS THE MIDDLE OF JANUARY.

Little did I know that we would be hit with snow for four days straight.  This morning we woke up to about 7 more inches of snow and it was still coming down.  Luckily it stopped and has warmed up and the snow is starting to melt.  I live in what is called the lowlands, that is lower than 200 ft. above sea level.  Those living in the surrounding areas that go up to about 1200 feet got it way worse than we did.  One friend that lives at about 1000 ft. got 28 inches.  That is crazy for this part of the country.  North of us, in the Olympia, Tacoma and Seattle areas are supposed to get more snow today and into tomorrow.


It is really beautiful, especially if I don't have to go anywhere.

Monday, January 16, 2012

THIS WEEKS PINTEREST PICKS

My favorite picks for pinterest this week beginning at top left and going clockwise:

1.  Cute heart hair clips from Sugar Bee Crafts
2.  Love this ruffled bag from RubyJu  (I actually never did find this bag on their blog but boy do they have lots of eye candy and really cool stuff to look at.  It would be worth your time to pop in and browse around).
3.  Wonderful idea for the laundry room.  Check it out here at TrophyW.
4.  Love the simplicity of this muslin pillow that you will find at Just Another Hangup.
5.  Unique photo frames were found at Dittle Dattle.

Sunday, January 15, 2012

FLOWERS MADE FROM PAPER GROCERY BAGS

It's been snowing and church was cancelled for today which gave me some free time to do some crafting.

I went to YOUTUBE looking for tutorials on making paper flowers and came across one where she uses brown paper grocery bags.
 I will need to warn you about two things.  First there are lots of pictures and some of the pictures are not the best quality but hopefully you will get the idea on how to make these.

Here are two finished flowers.  They would be cute attached to a hairband  or maybe glue a pin attachment to the back and wear it on a sweater.  I also thought they would look cute on a heart shaped wreath for Valentine's Day.  (I will need to make a bazillion more if I make a wreath, we'll see!)


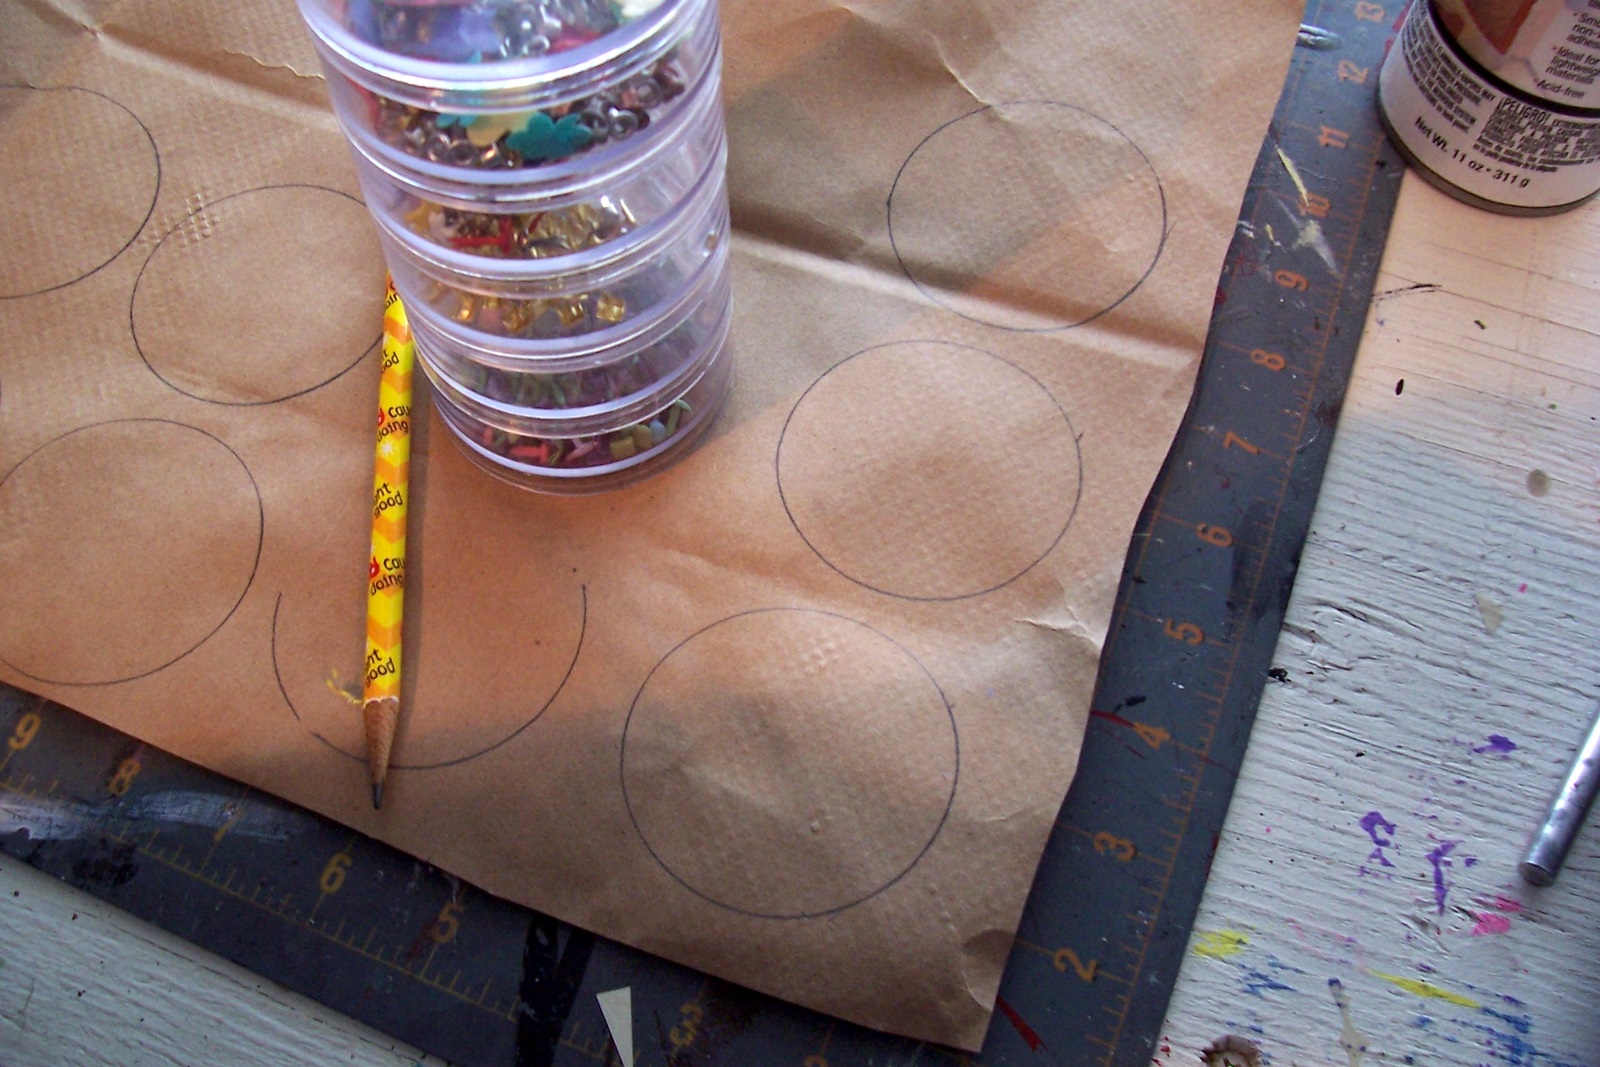
1. Start off by cutting a grocery sack open and laying it flat.


2. Find three different round items to use as templates.


I used lids from some of my storage containers
3. The measurements I used were (below)...


4. Next I used some decorative scissors I had to cut out the circles so that the edges would be kind of ruffly.

Here is how it looks cut out.


5.  I cut out a bunch but you will need 2 large circles, 2 medium circles and 1 small circle for each flower.


6.  Next you want to wad up the circles and squish them to make them all wrinkly.

You want them to look like the one on the left.


7.  Lay down a piece of wax paper as you will be stamping the circles with ink pads and then misting them with water.


8.  I used a Chestnut brown ink pad.


9.  You can see the inked circles on the left of the paint pan.  I then took yellow and red craft paint and applied it randomly over the inked circles.


Here is what it looked like after applying the yellow paint.


And here is the red applied along with the yellow paintl


10.  Next you will want to mist the paper circles with water and then squish and wrinkle the circles again.  Let them sit for about 10-15 minutes so they start to dry out.  Unwrinkle (spellcheck says that unwrinkle isn't a word but I think it works just fine for my description) them and start to shape them so they are kind of  a shallow bowl shape.  

 11.  Starting with the largest circles begin stacking them together while adding a small amount of glue in between the layers.  Work the petals to make them stand up.
12. Glue in the center a rhinestone, sequin or a fancy button to finish it off.
(This photo is a little blurry, go back to the beginning of the post to see it better)